Nano-Hexapod - Assembly
Table of Contents
This report is also available as a pdf.
1 Mounting Goals
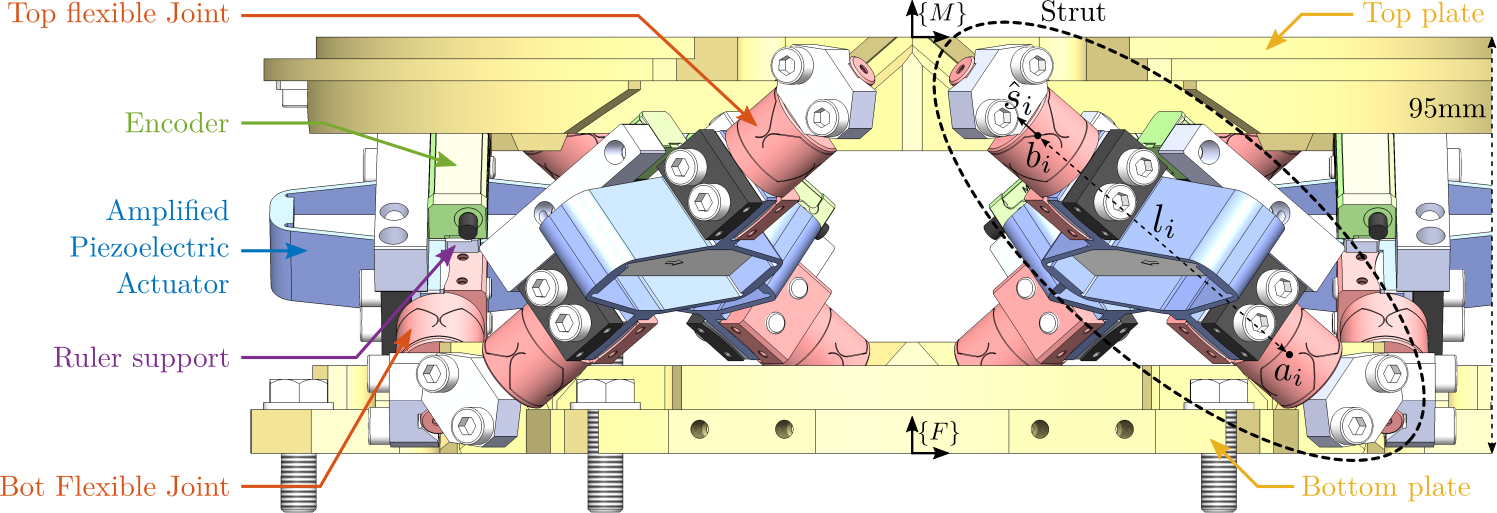
Figure 1: Received top and bottom nano-hexapod’s plates
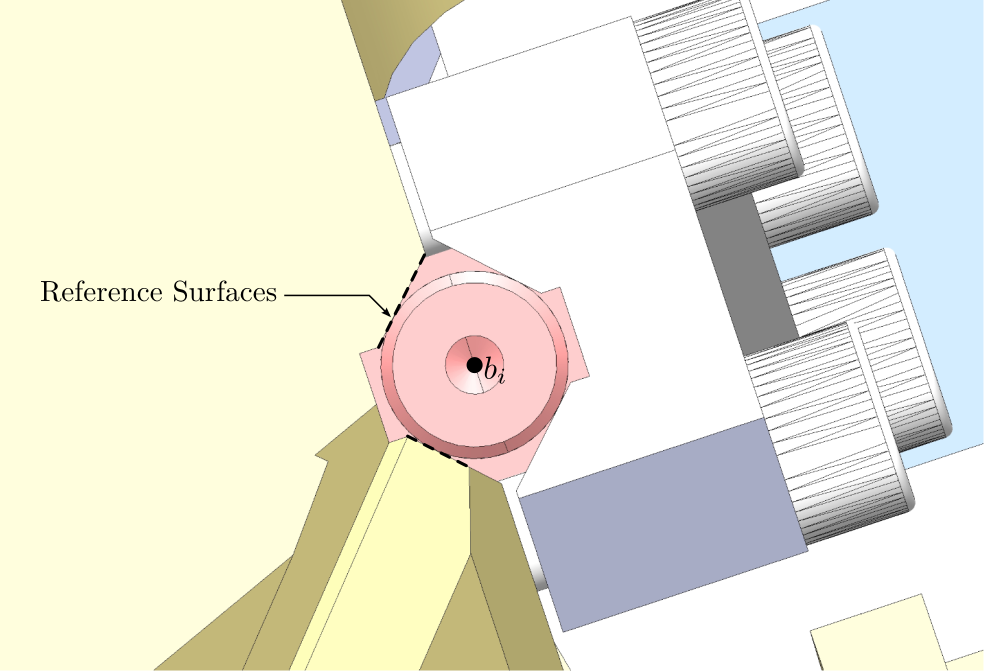
Figure 2: Received top and bottom nano-hexapod’s plates
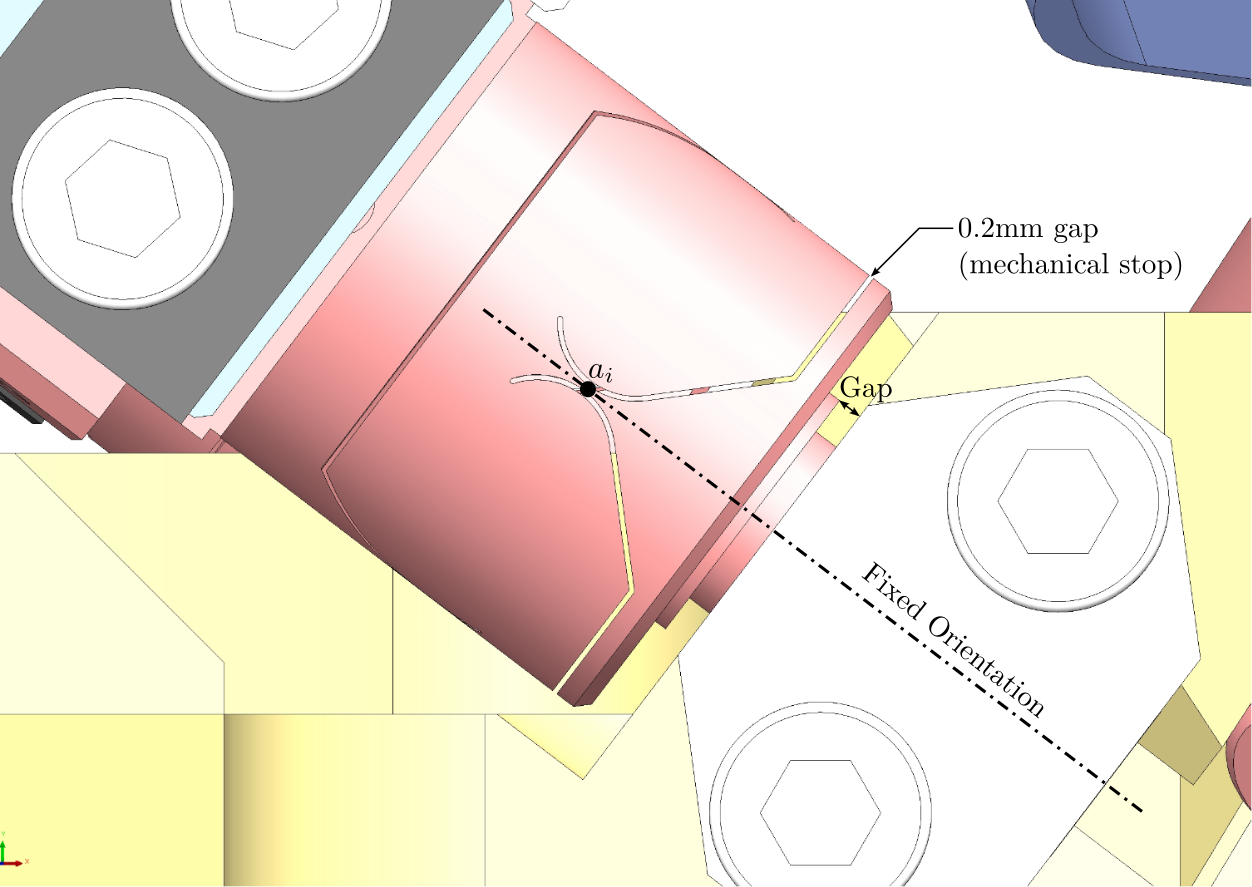
Figure 3: Received top and bottom nano-hexapod’s plates
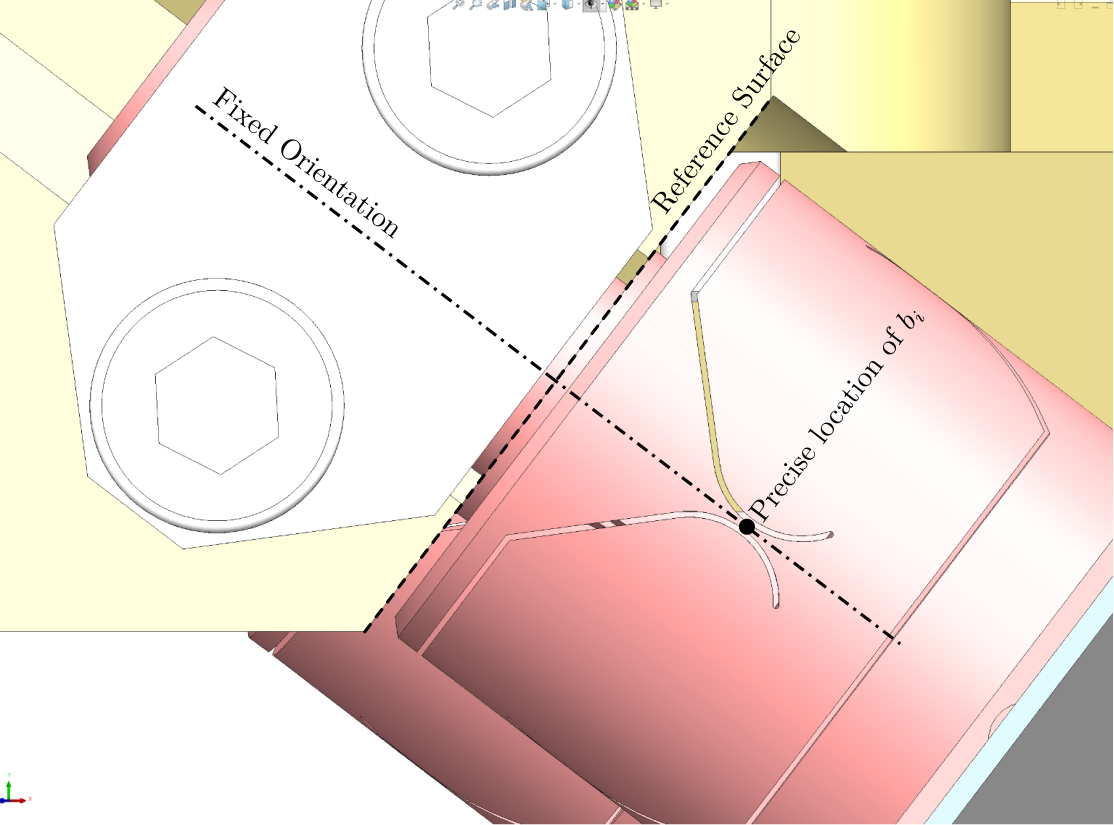
Figure 4: Received top and bottom nano-hexapod’s plates

Figure 5: Received top and bottom nano-hexapod’s plates
2 Mounting Bench
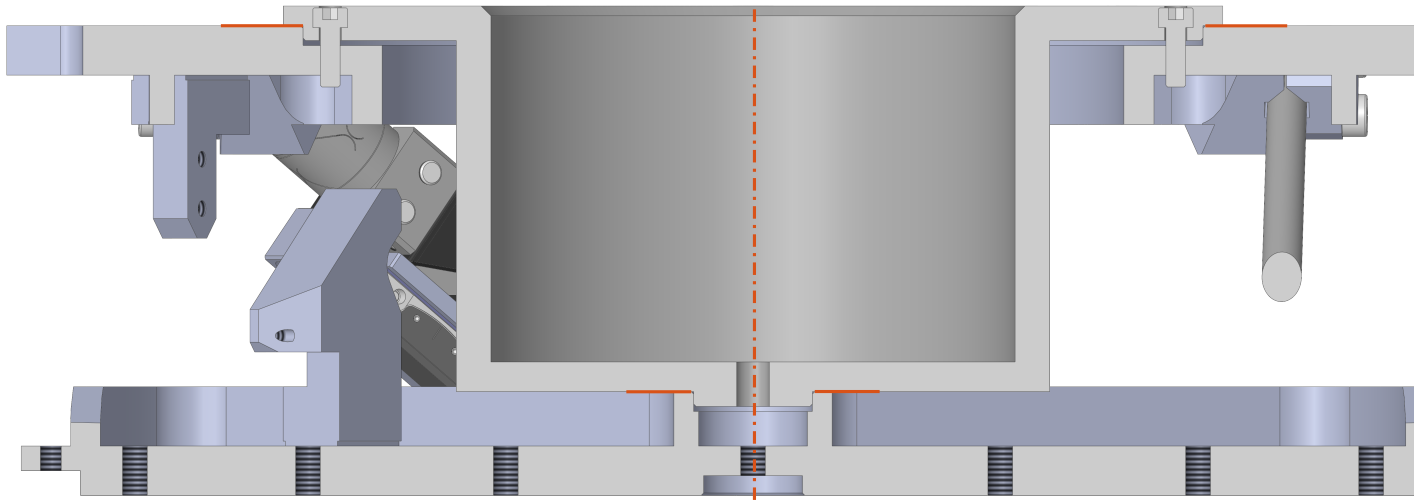
Figure 6: Received top and bottom nano-hexapod’s plates
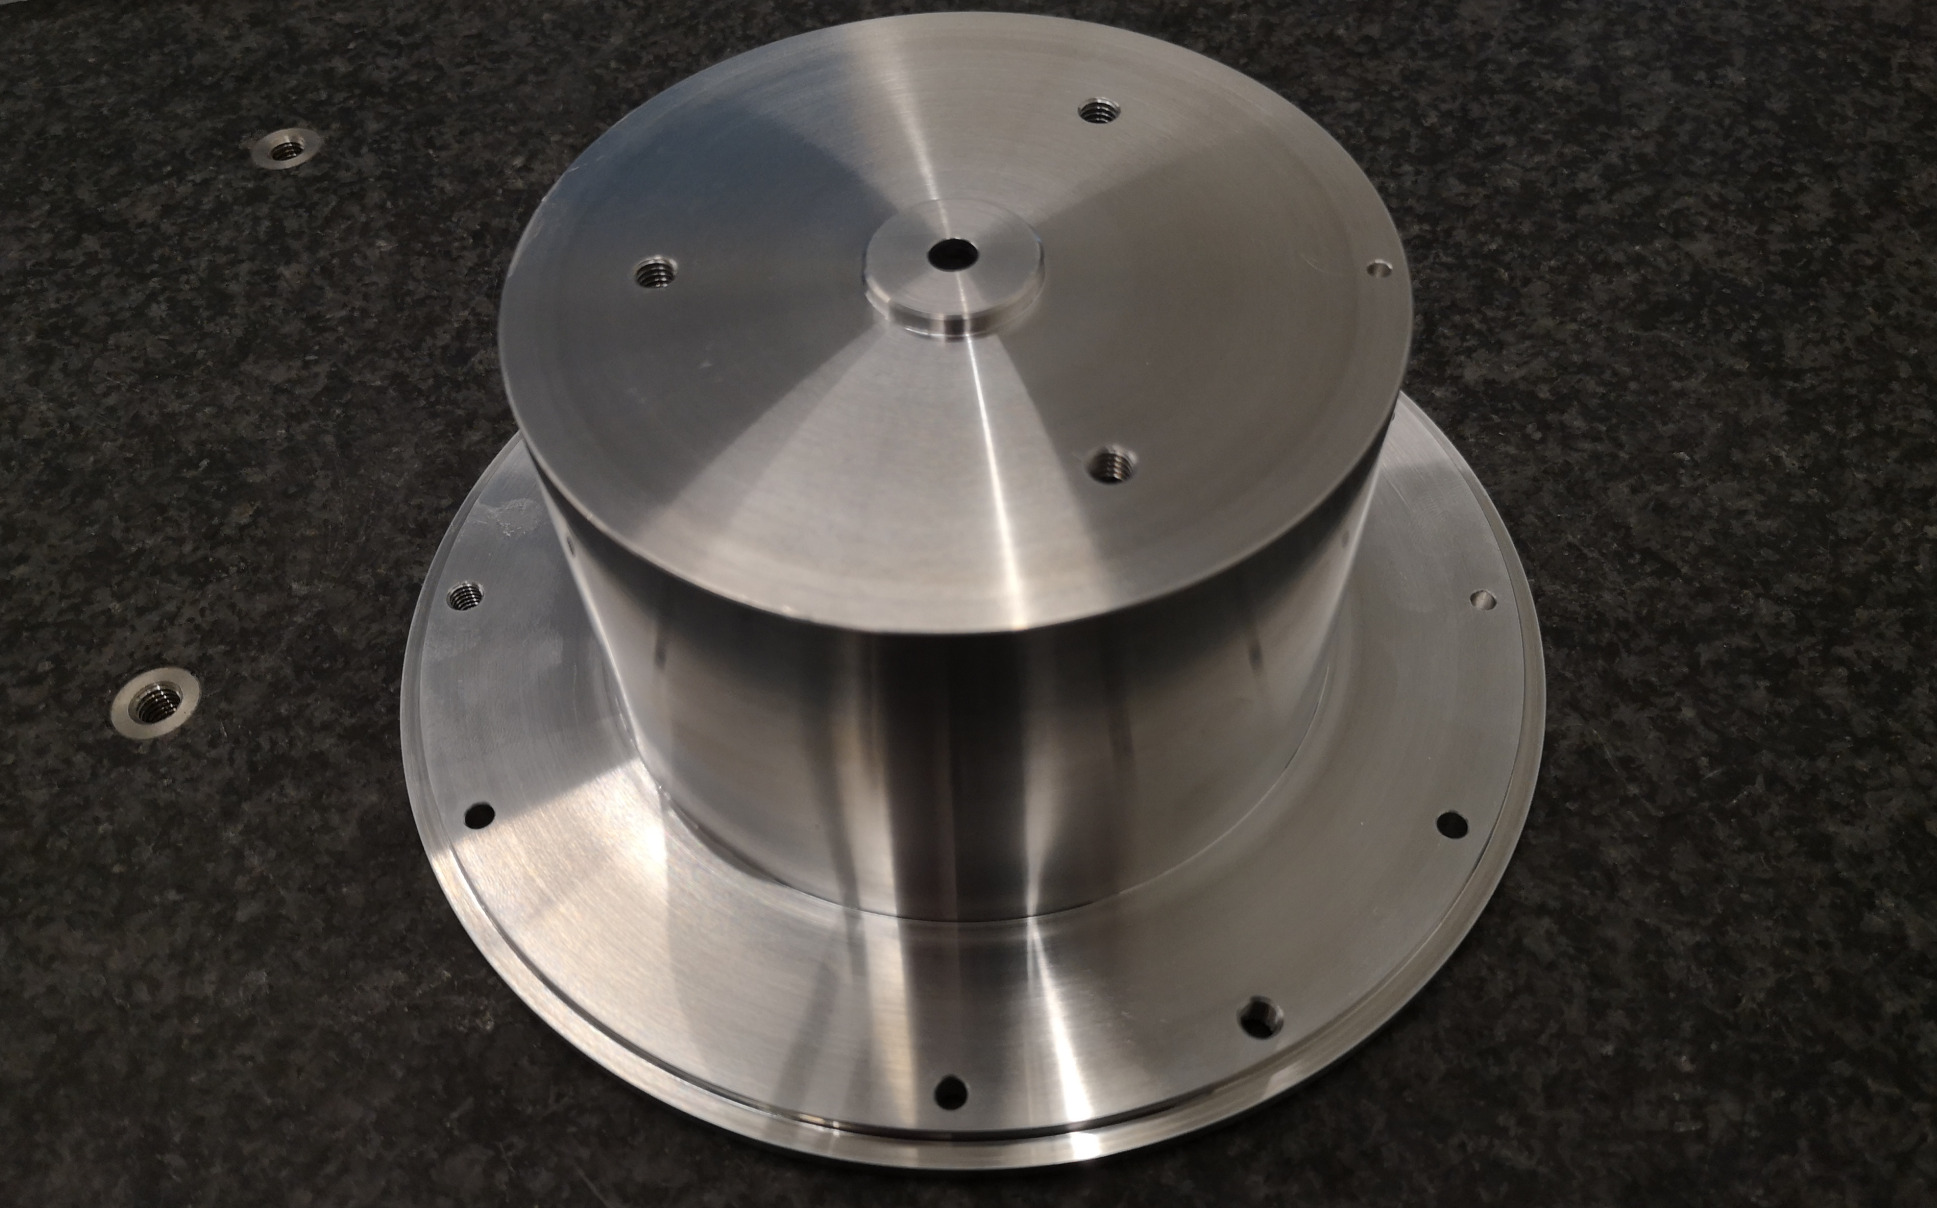
Figure 7: Received top and bottom nano-hexapod’s plates
3 Mounting Procedure
3.1 With Encoders on the Struts
- Fix the bottom plate with the cylindrical tool
- Put the top plate on the granite
- Put the cylindrical tool and bottom plate on top of the top plate (Figure 10). This position the bottom plate with respect to the top plate in X, Y, Z, Rx, Ry
- Put the pin to position/fix the Rz. Now the two plates should be position and clamped together
- Fix the 6 struts
- Remove the pin and the tool
- Put the nano-hexapod in place
3.2 With Encoders on the Plates
4 Nano-Hexapod Mounting
4.1 Plates

Figure 8: Received top and bottom nano-hexapod’s plates
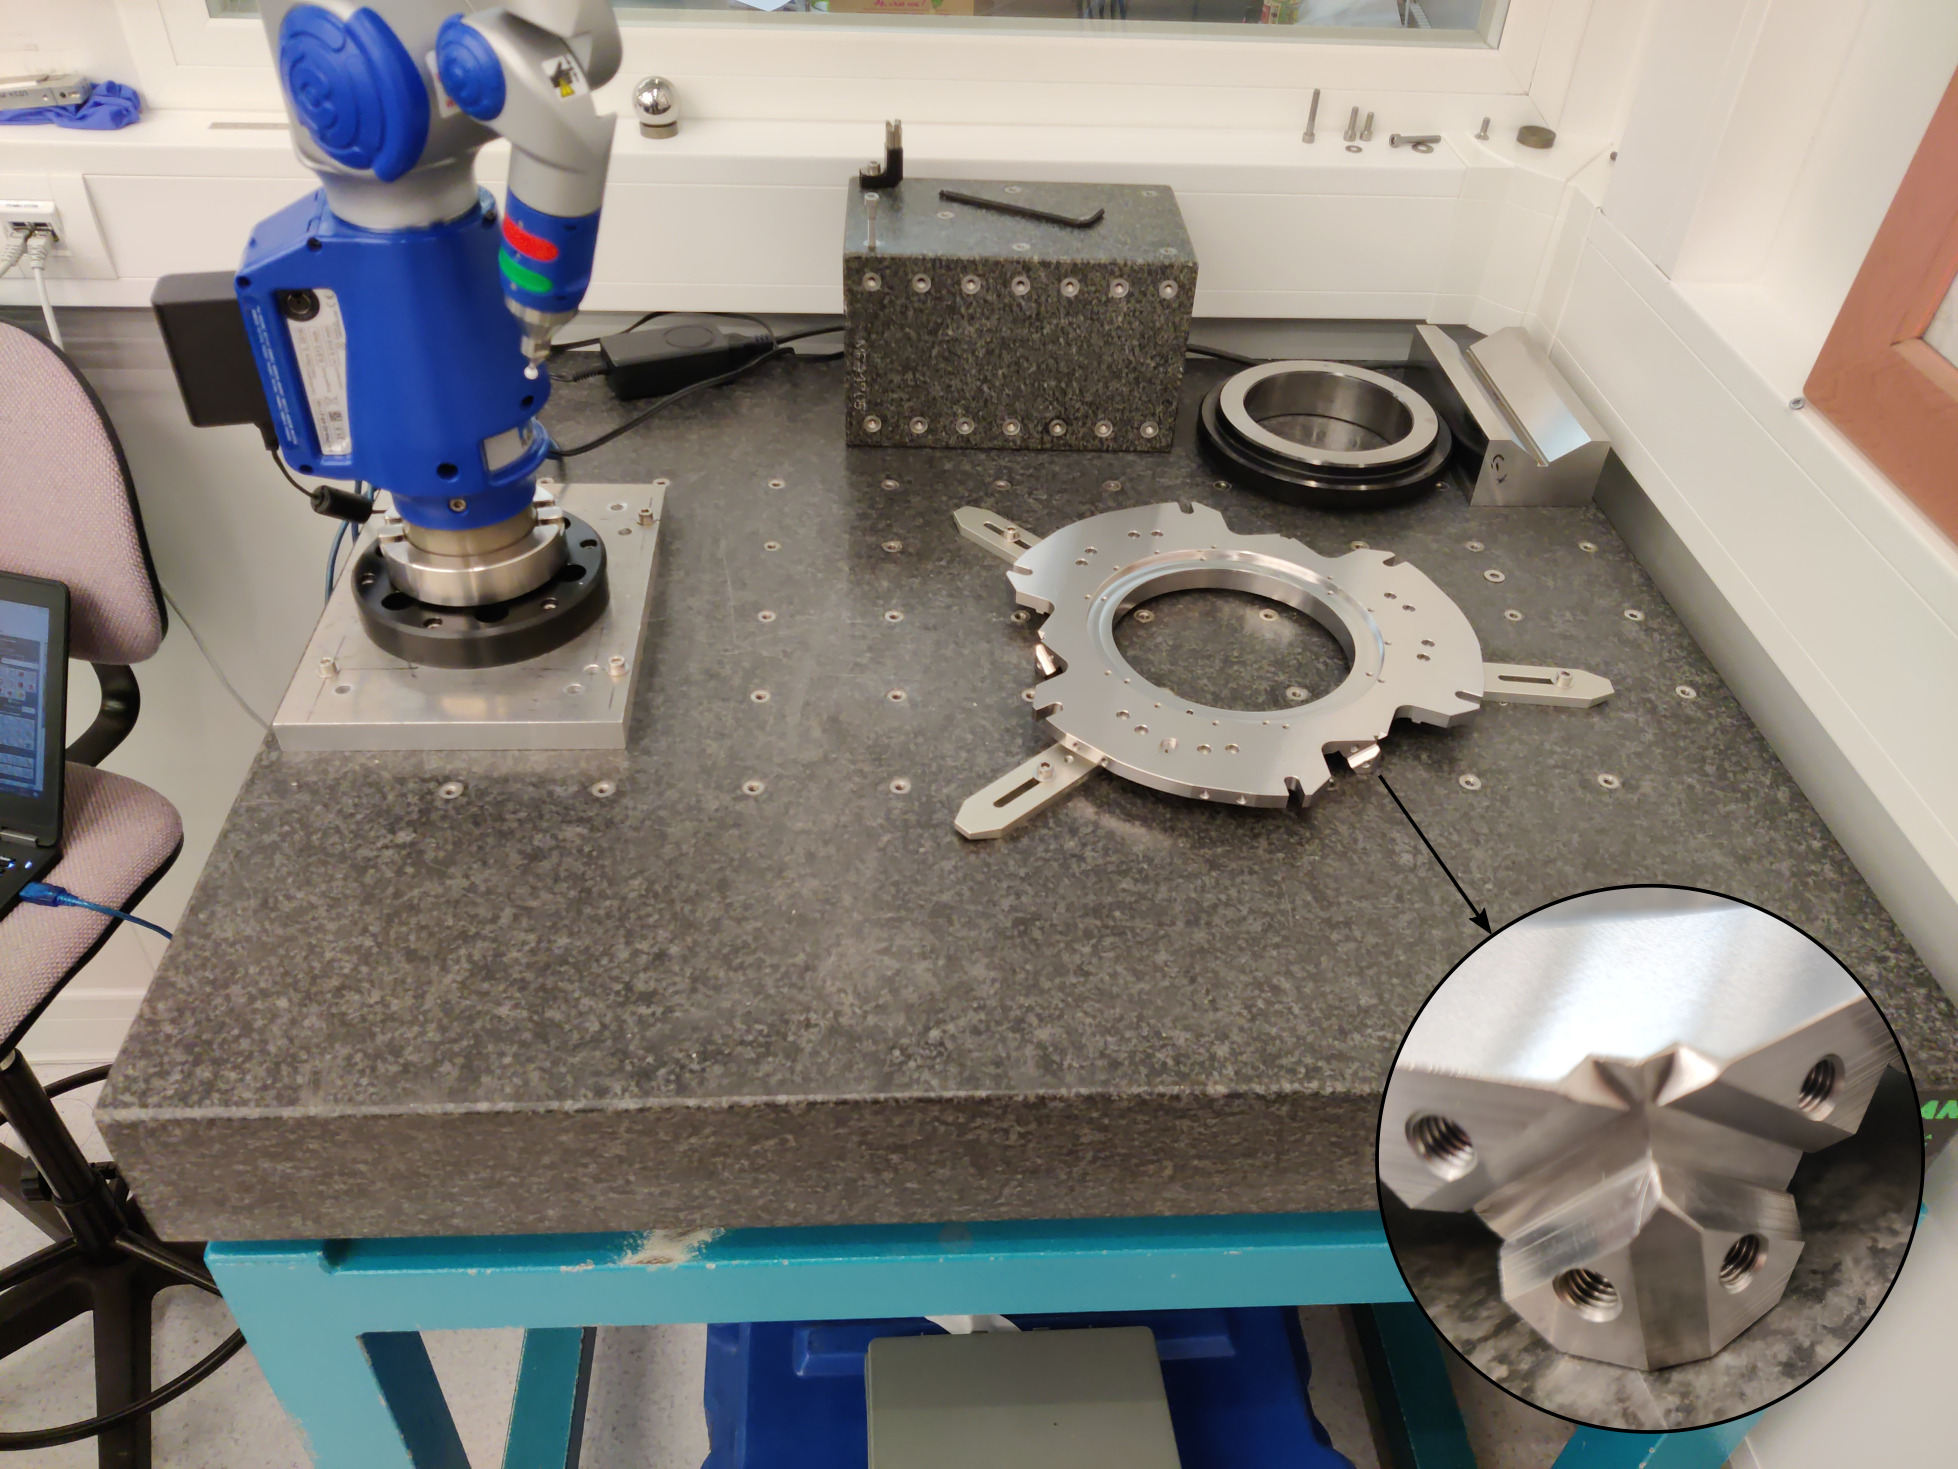
Figure 9: Bottom plate on the measurement granite (FARO arm). Zoom on the main feature of the plate
4.2 Mounting Tool

Figure 10: Bottom and top plates mounted together with the special tool
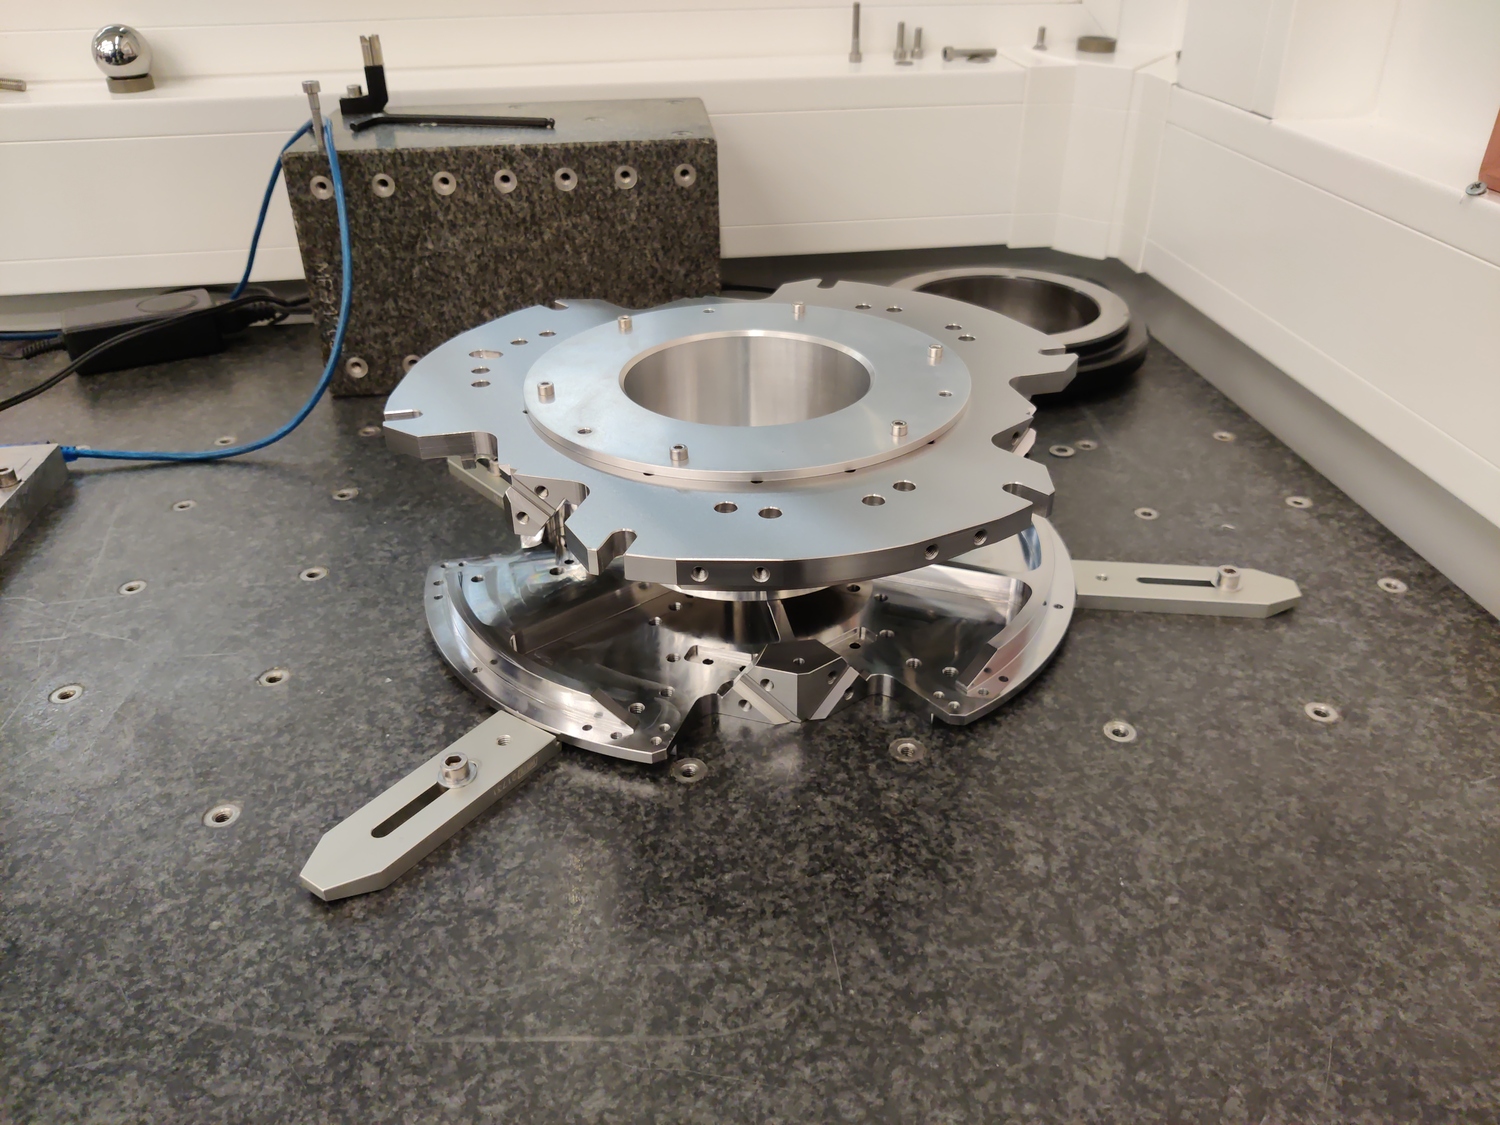
Figure 11: Bottom and top plates mounted together with the special tool (top view)
4.3 Mounted Hexapod
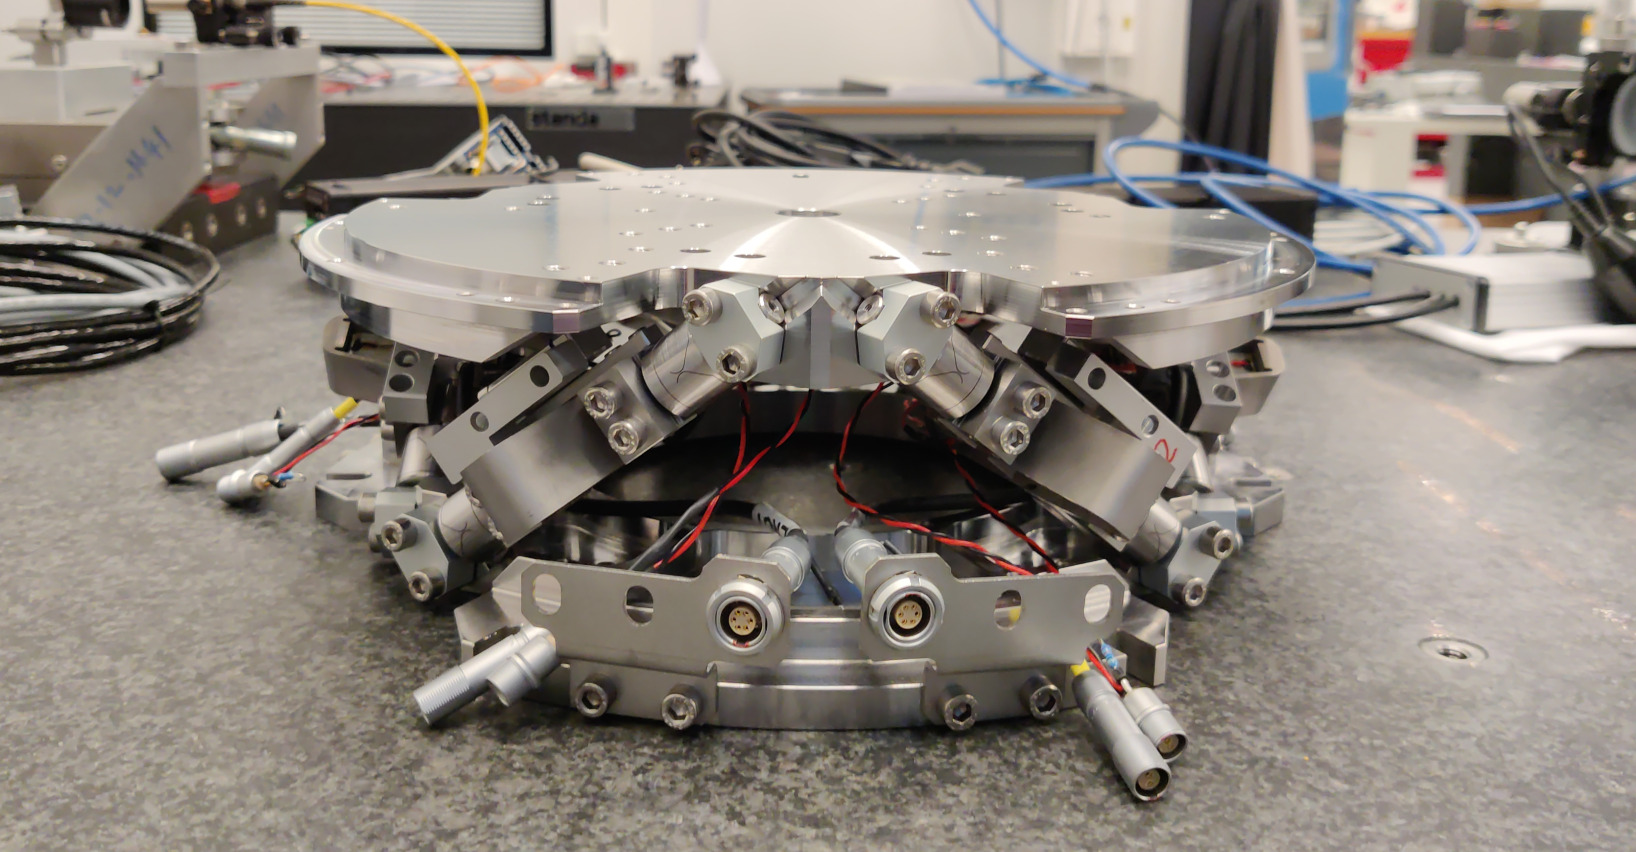
Figure 12: Mounted Nano-Hexapod